Christmas Vacation in Texas
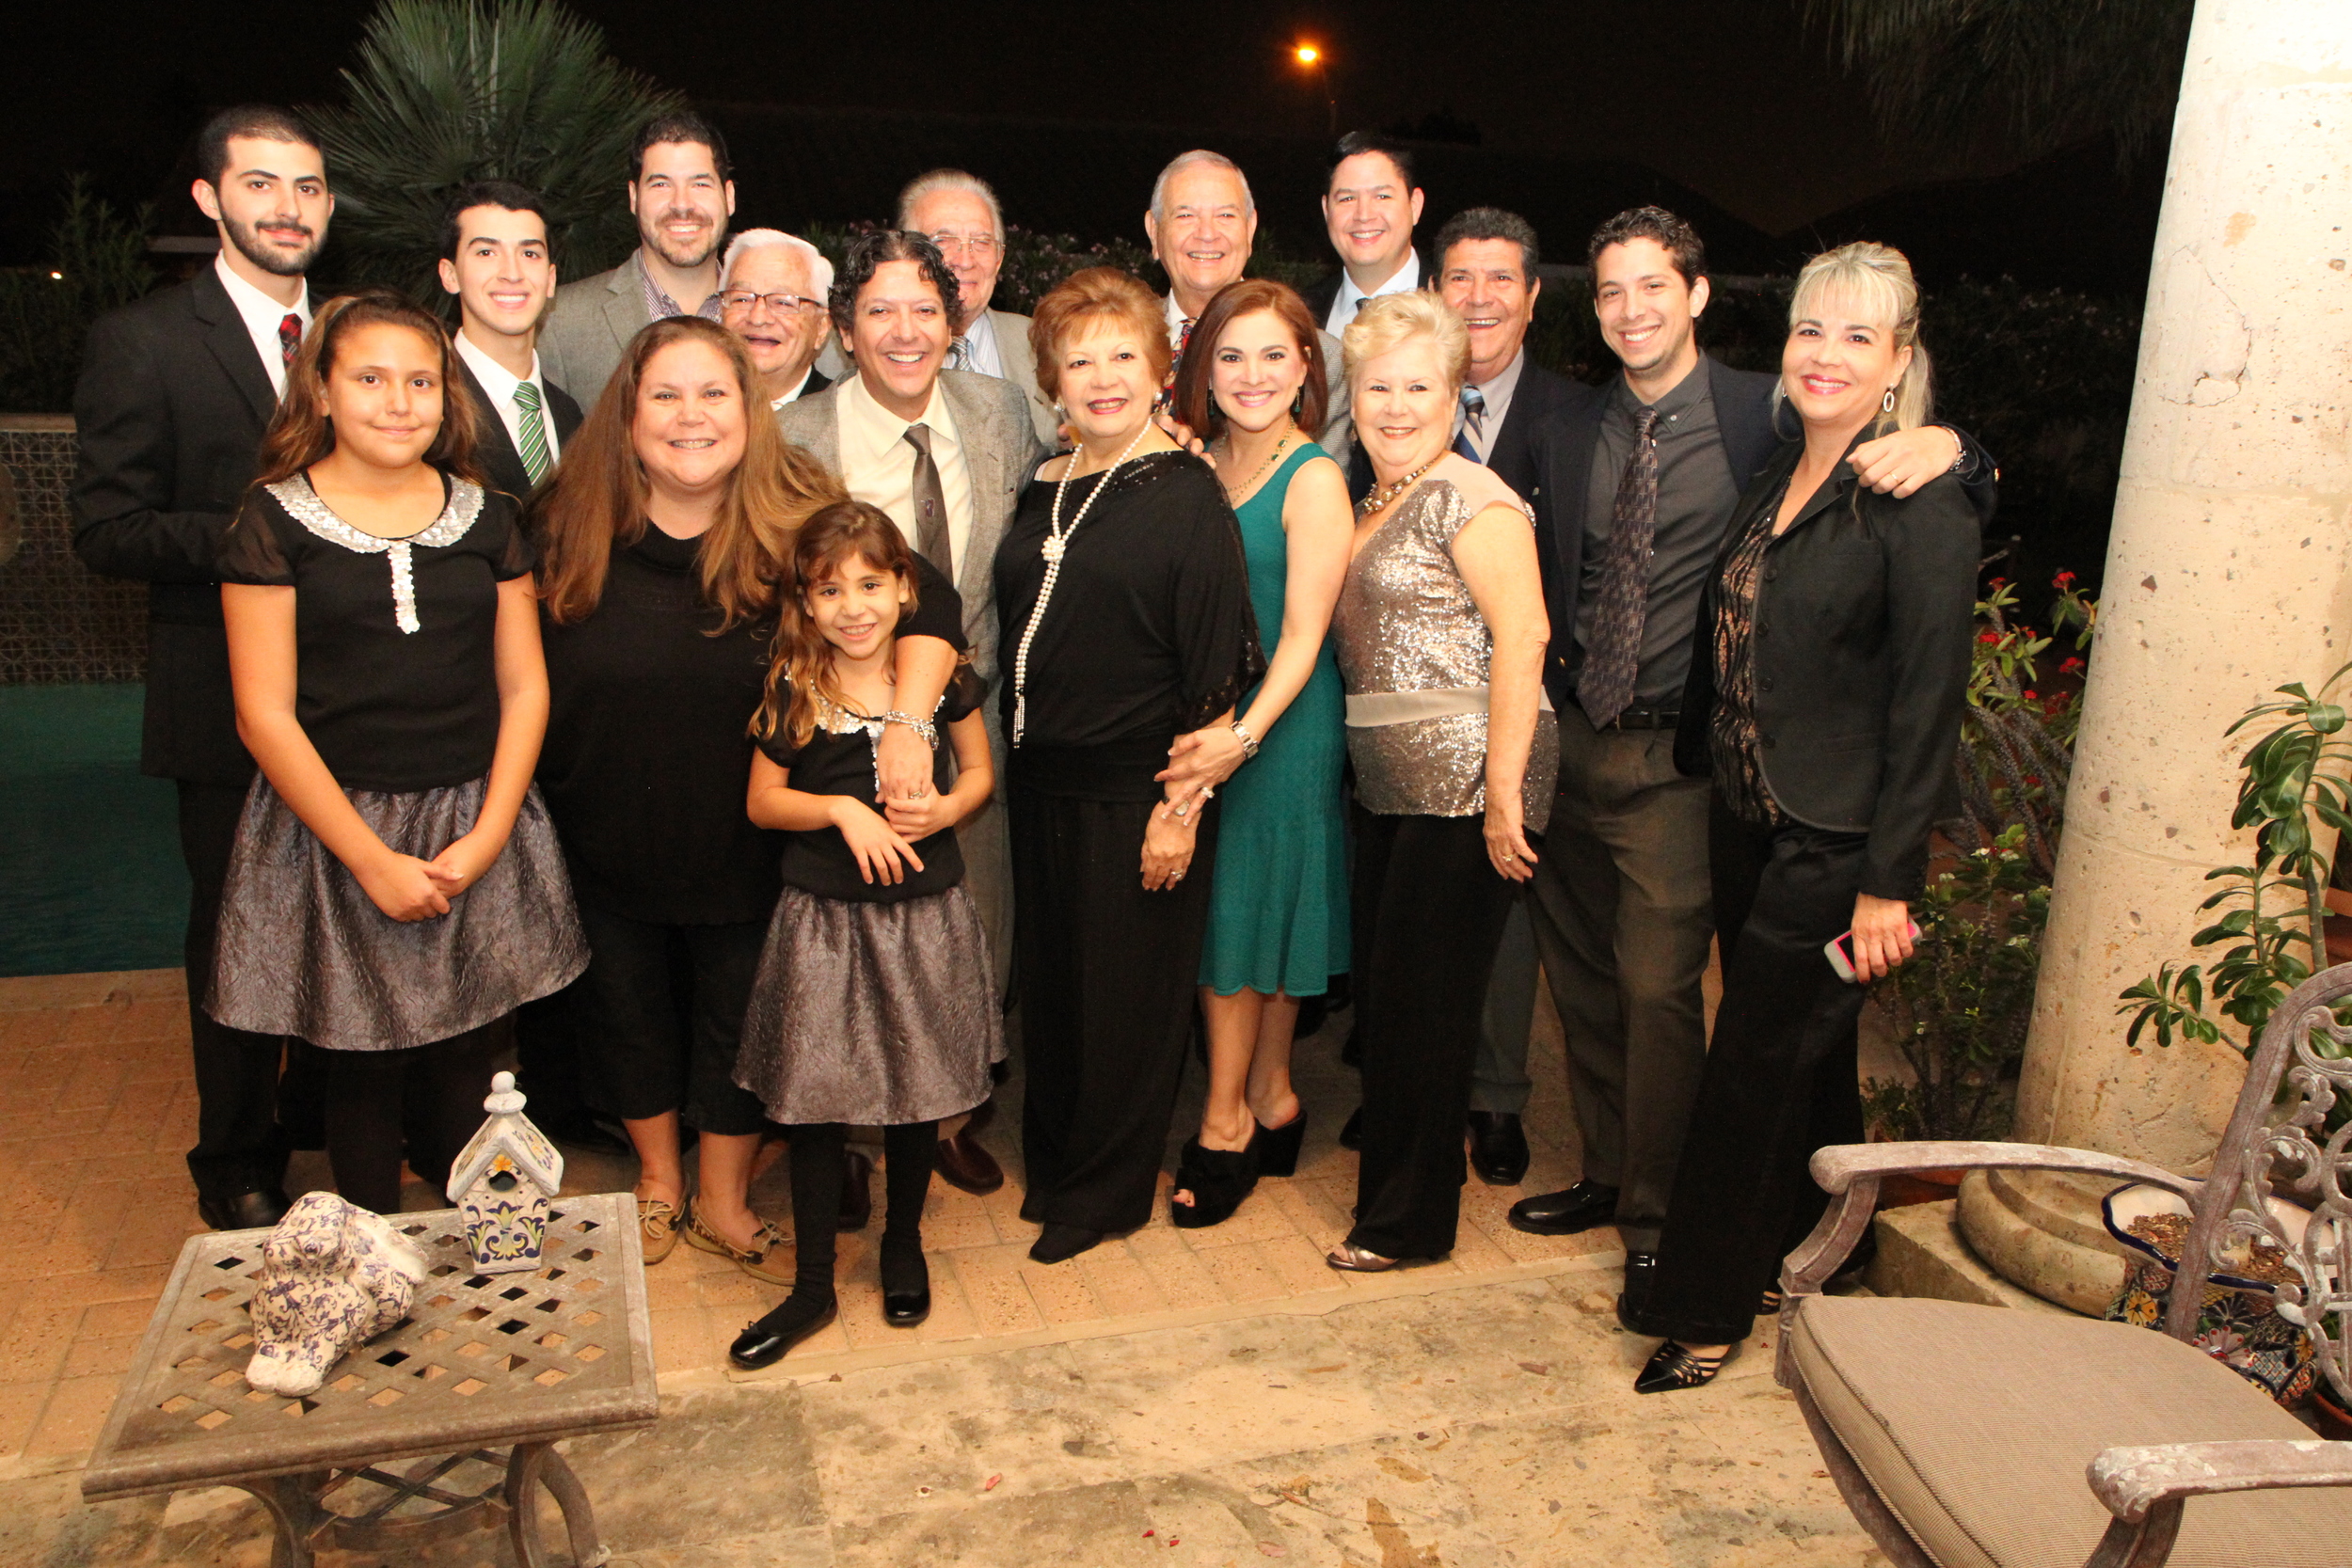
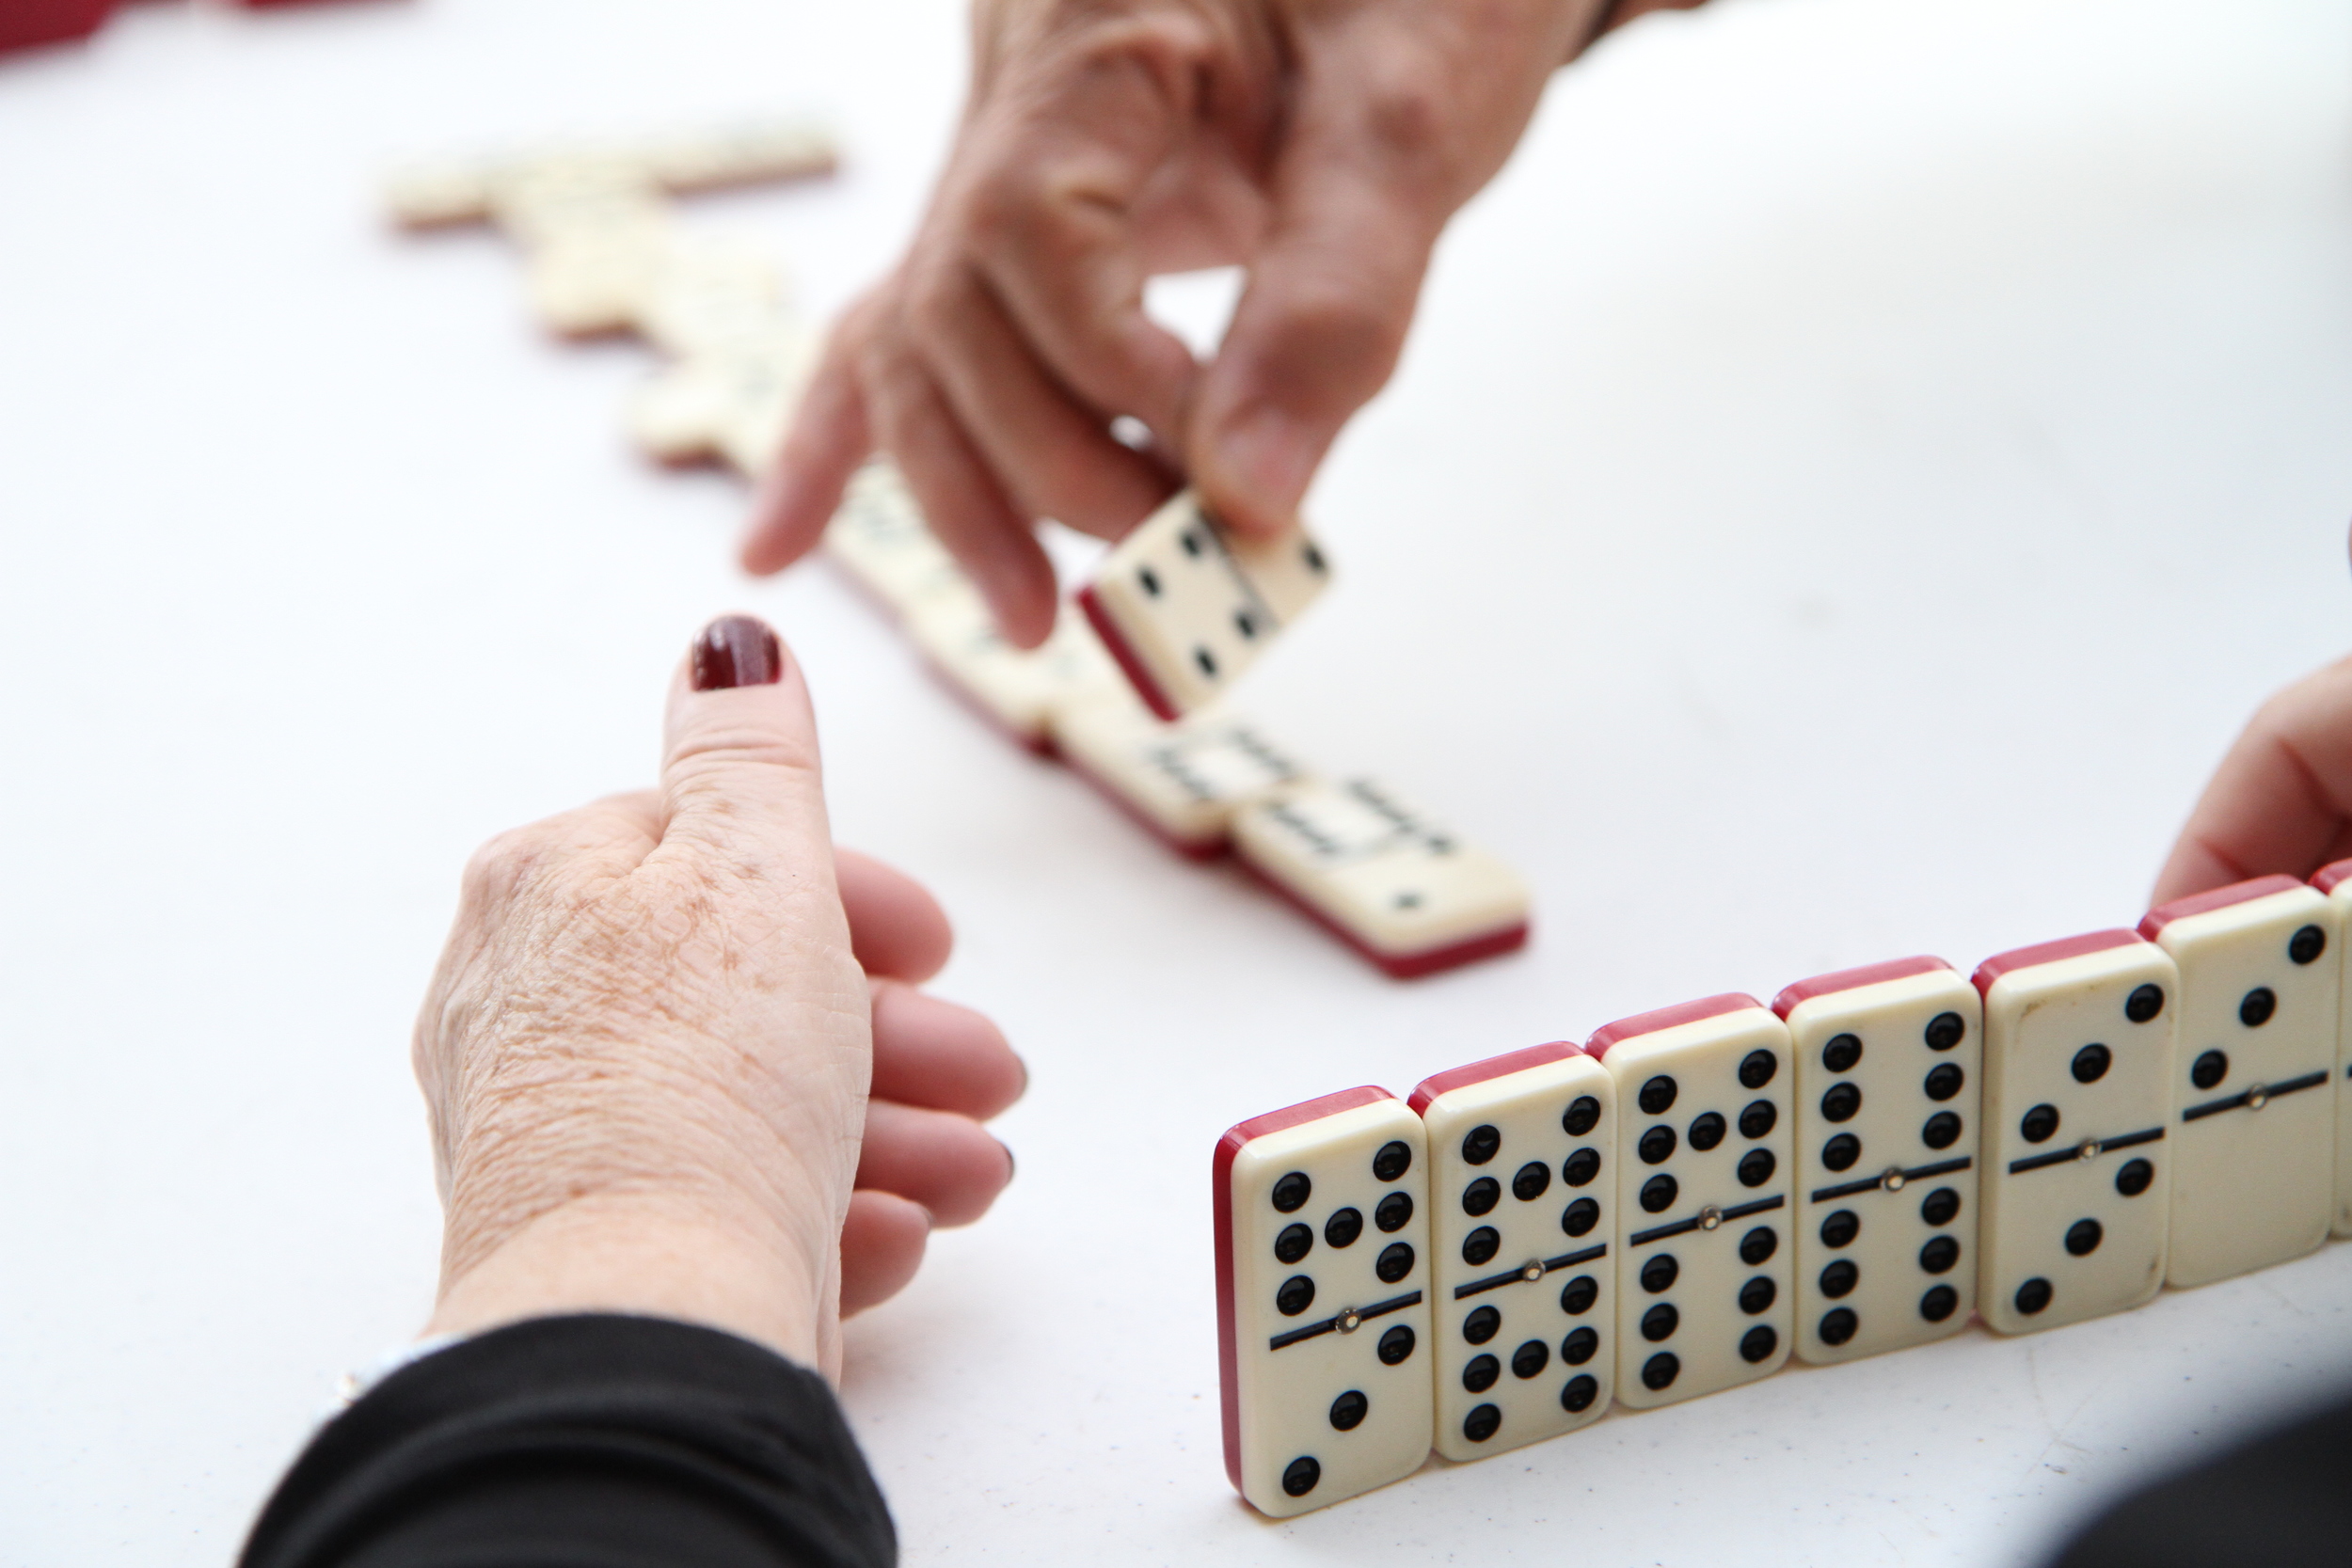
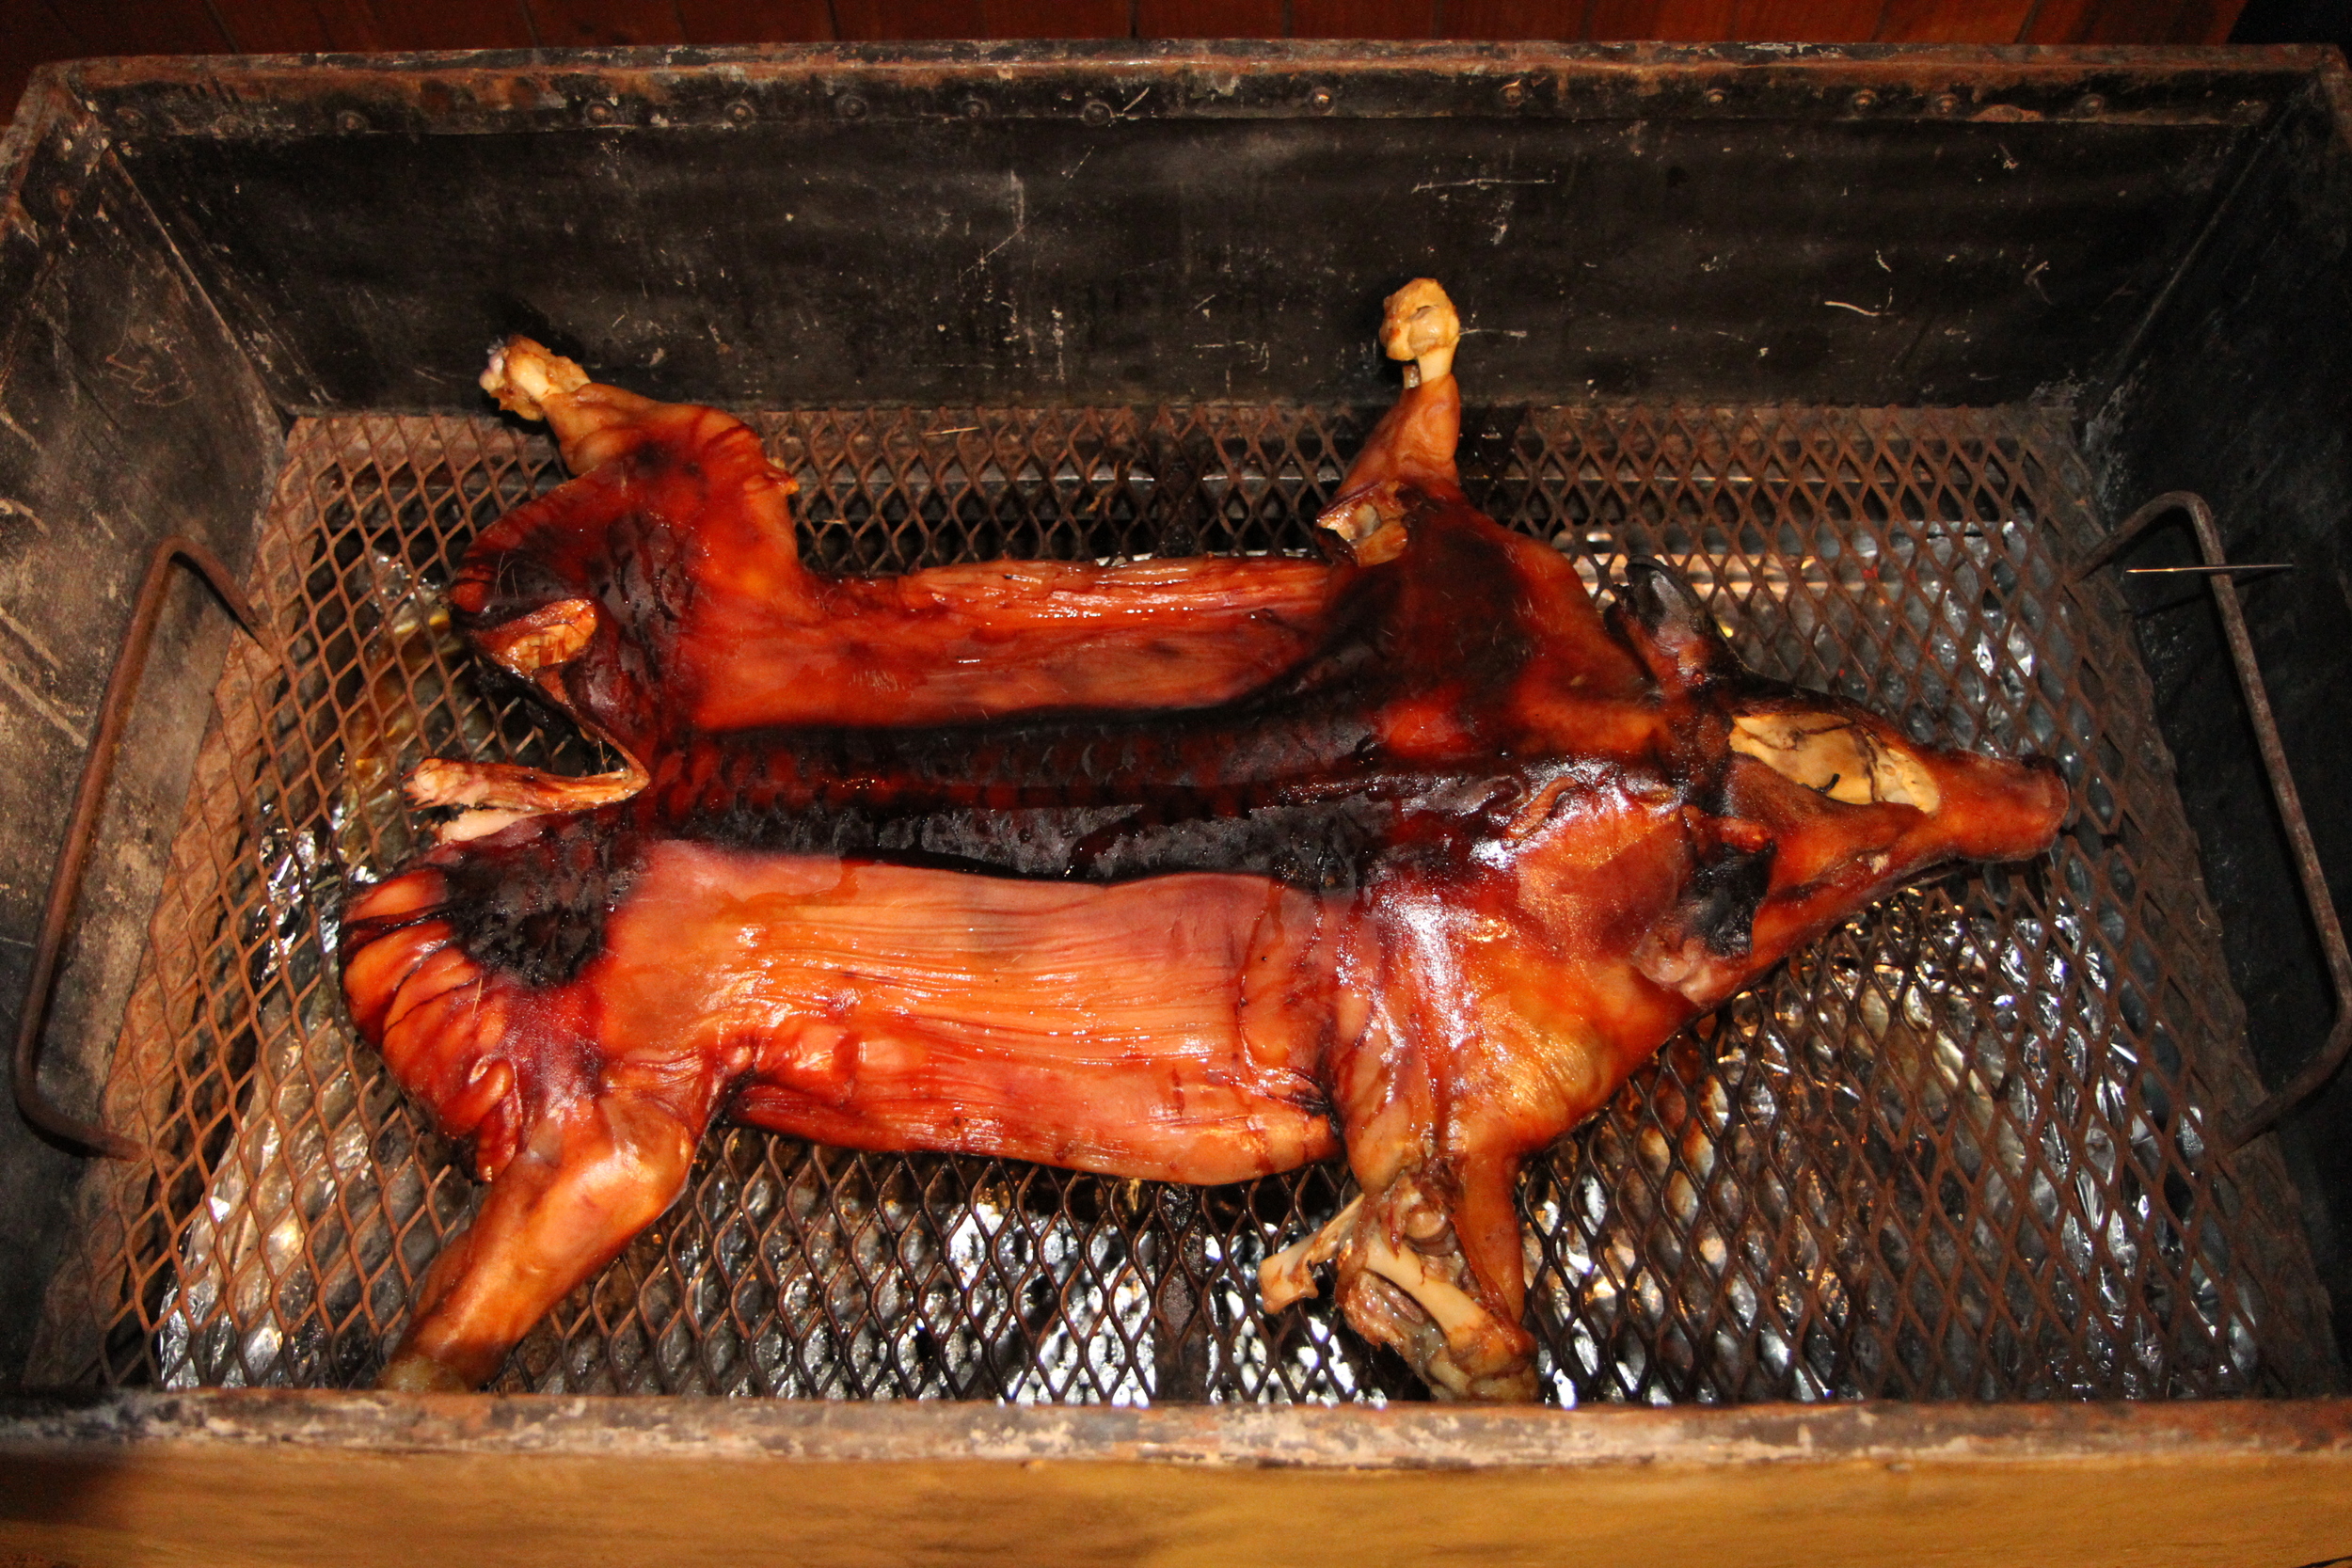
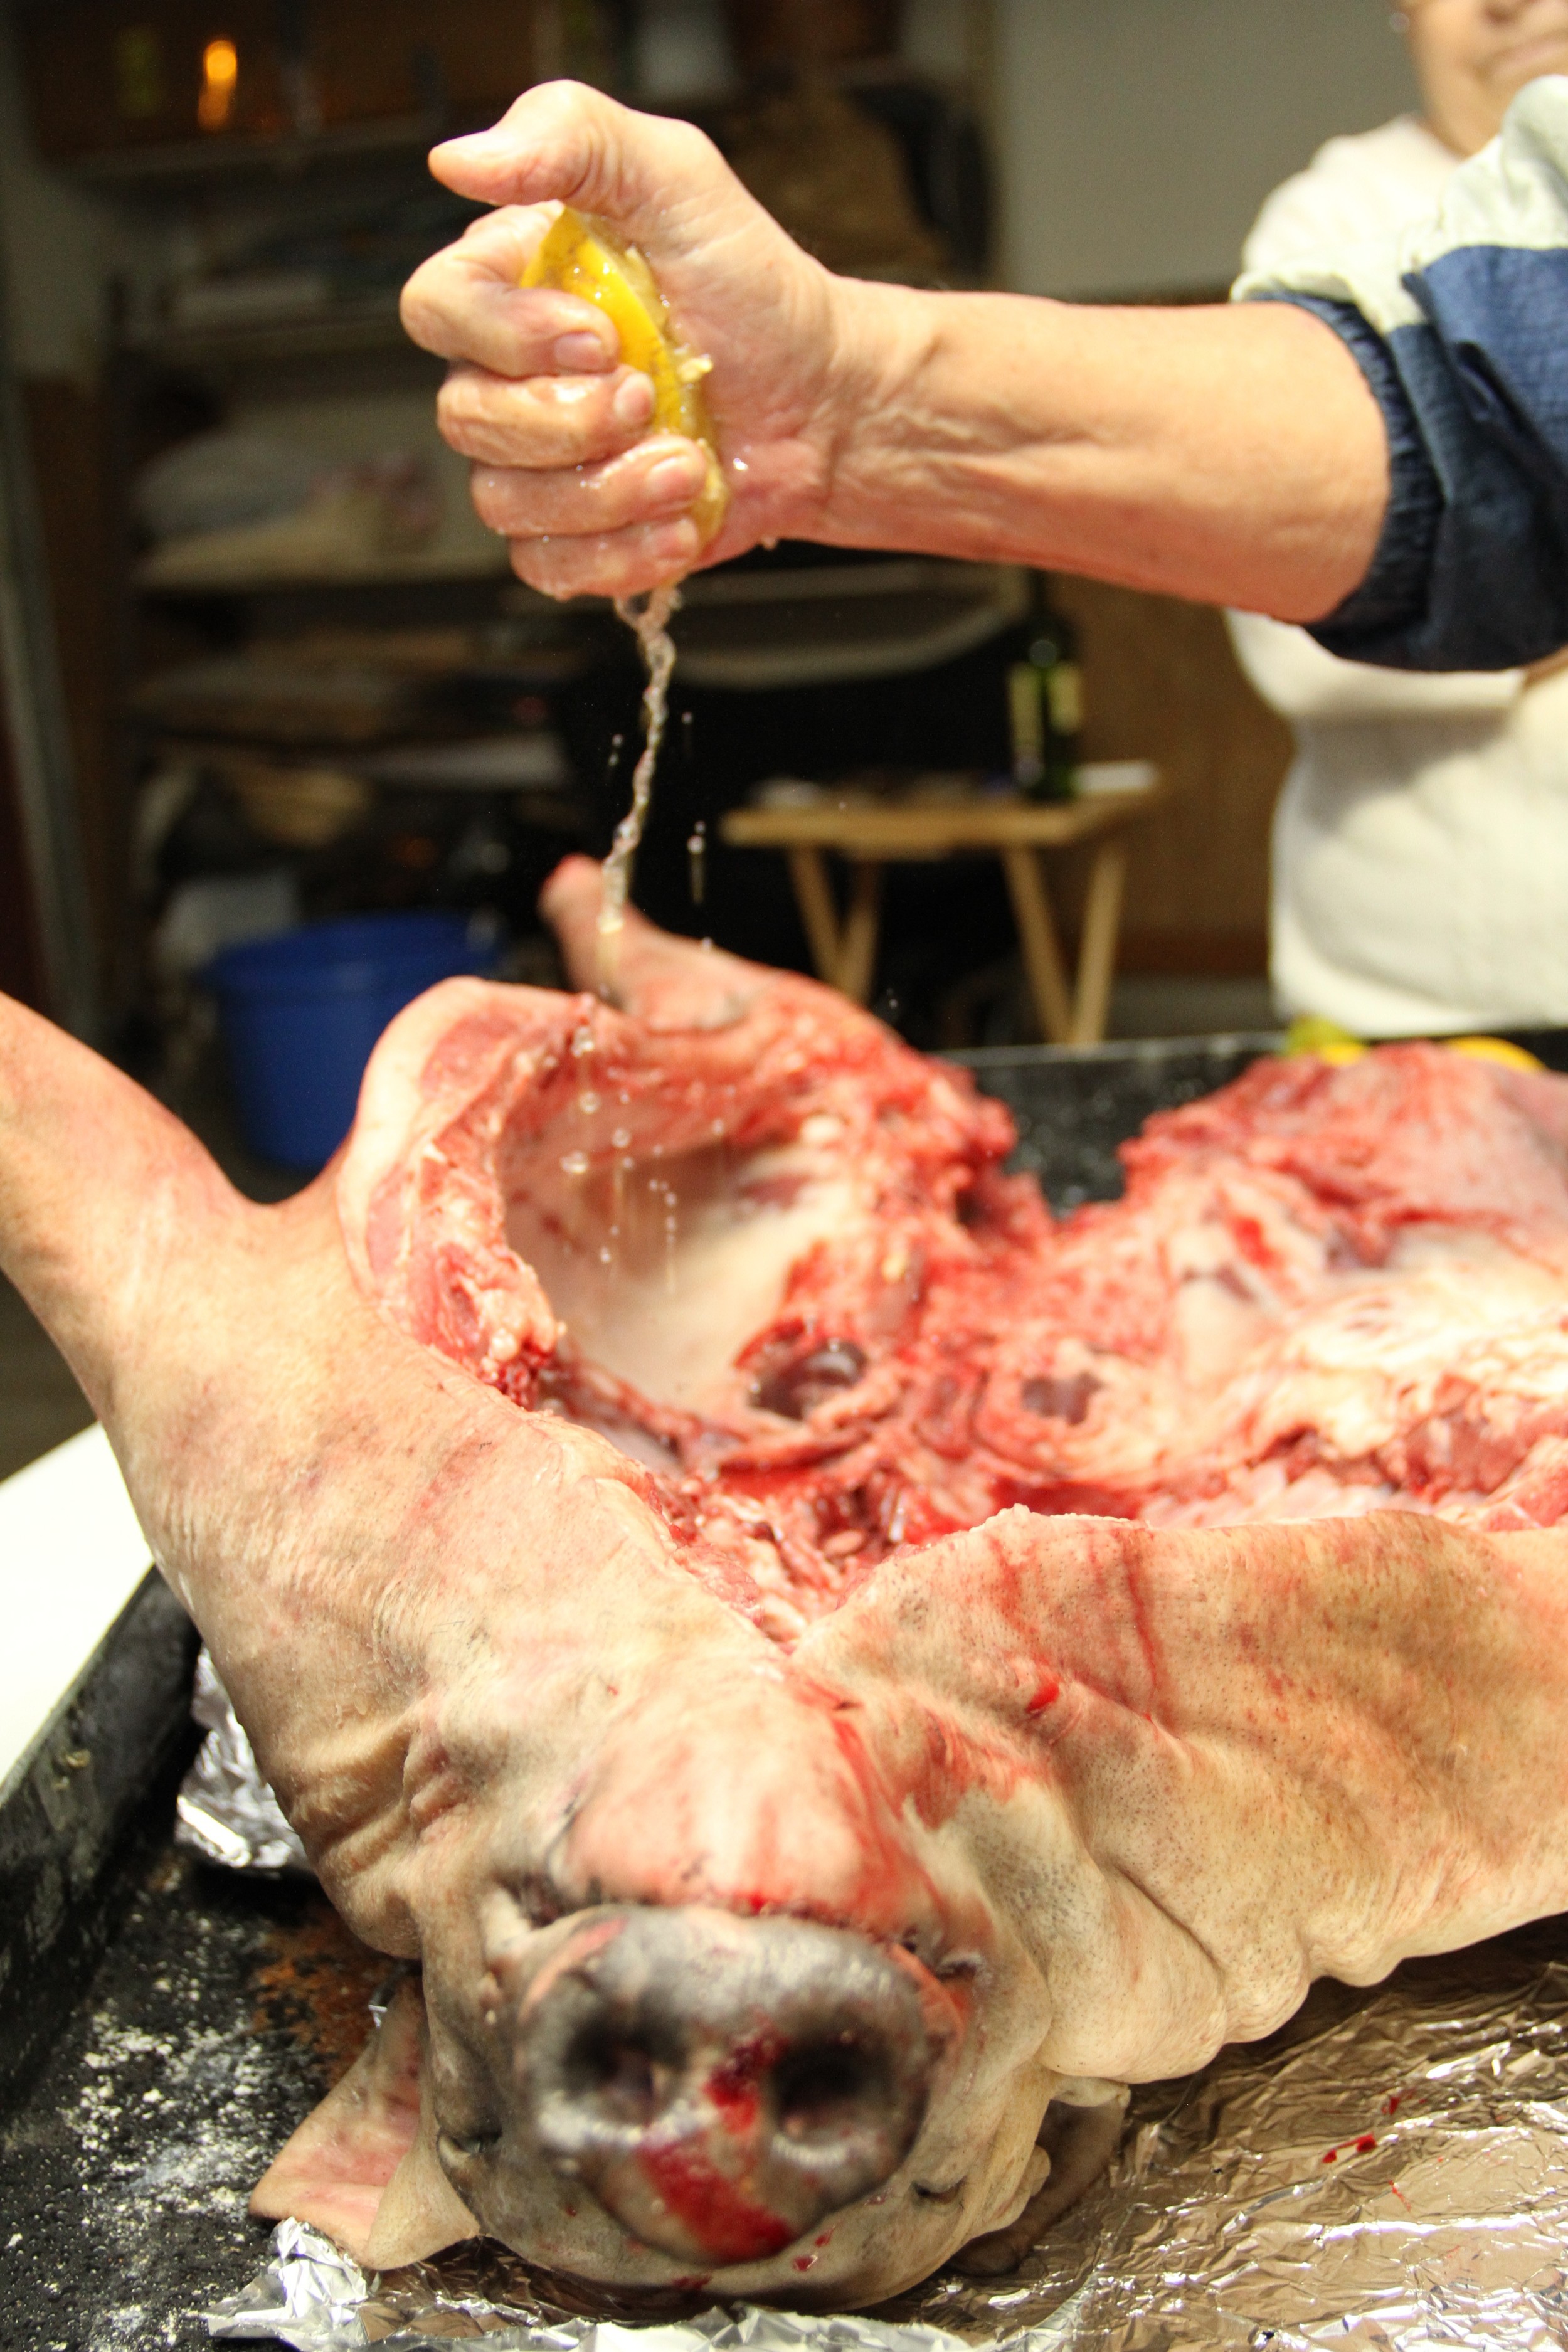
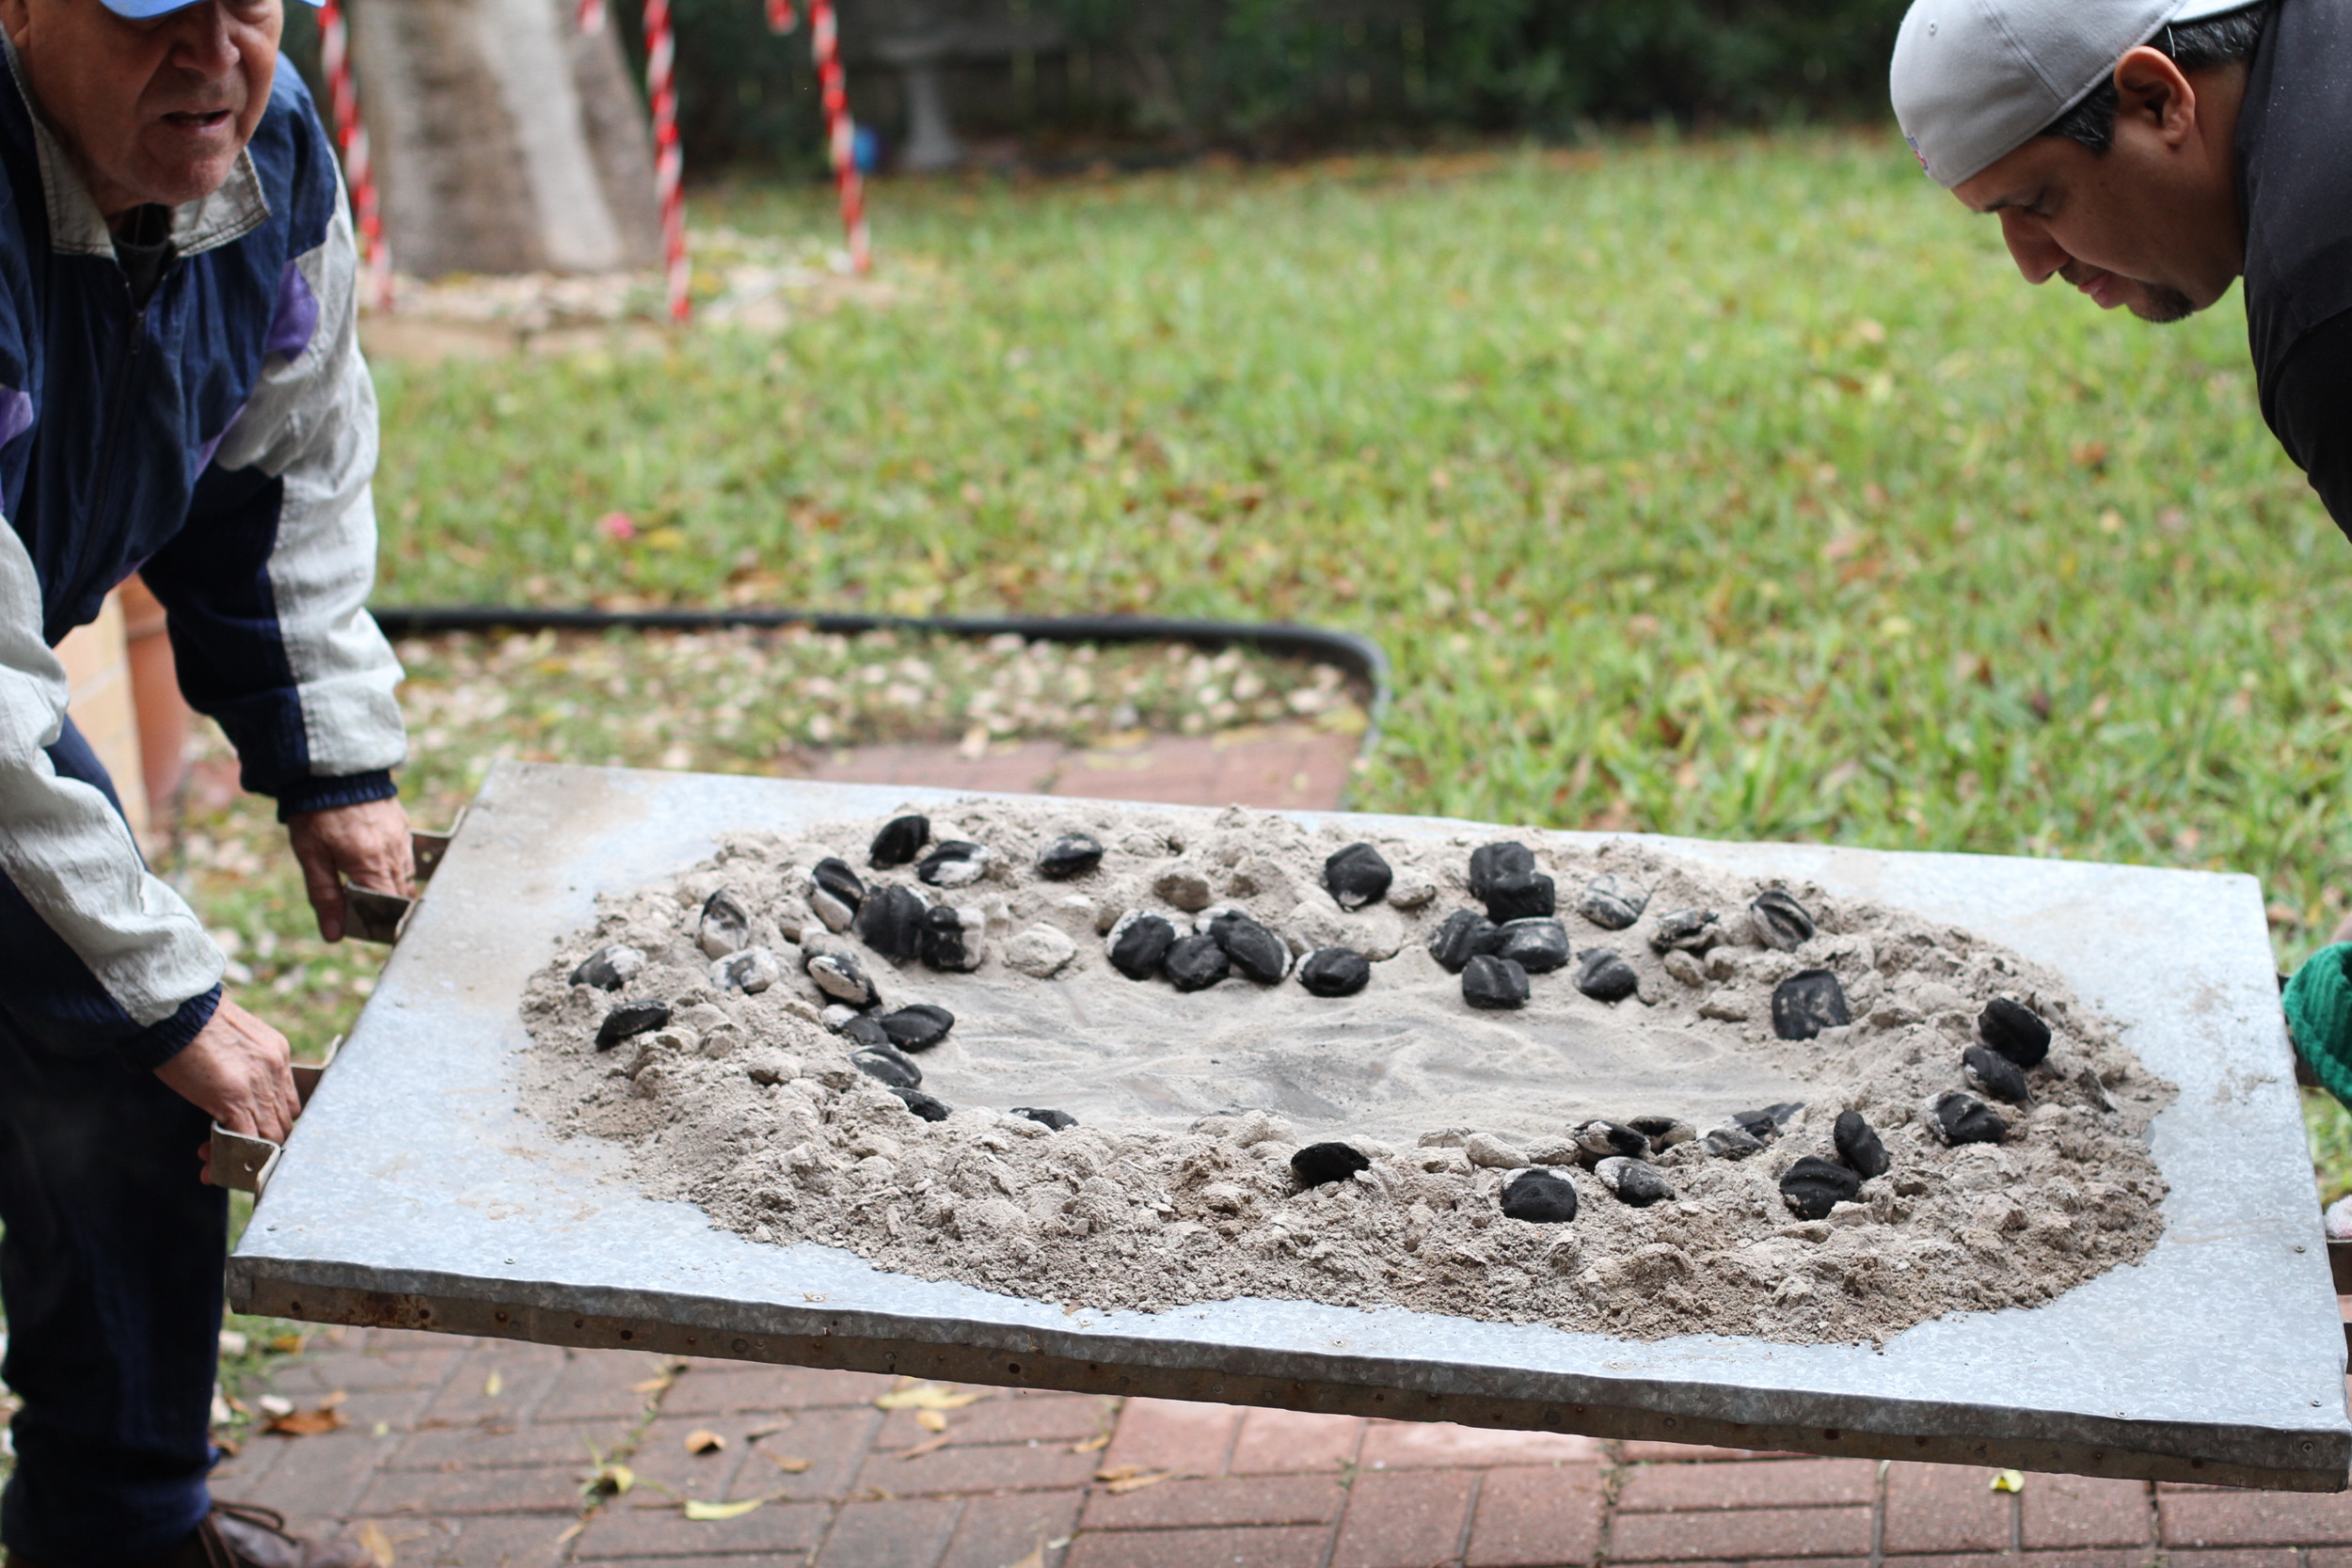
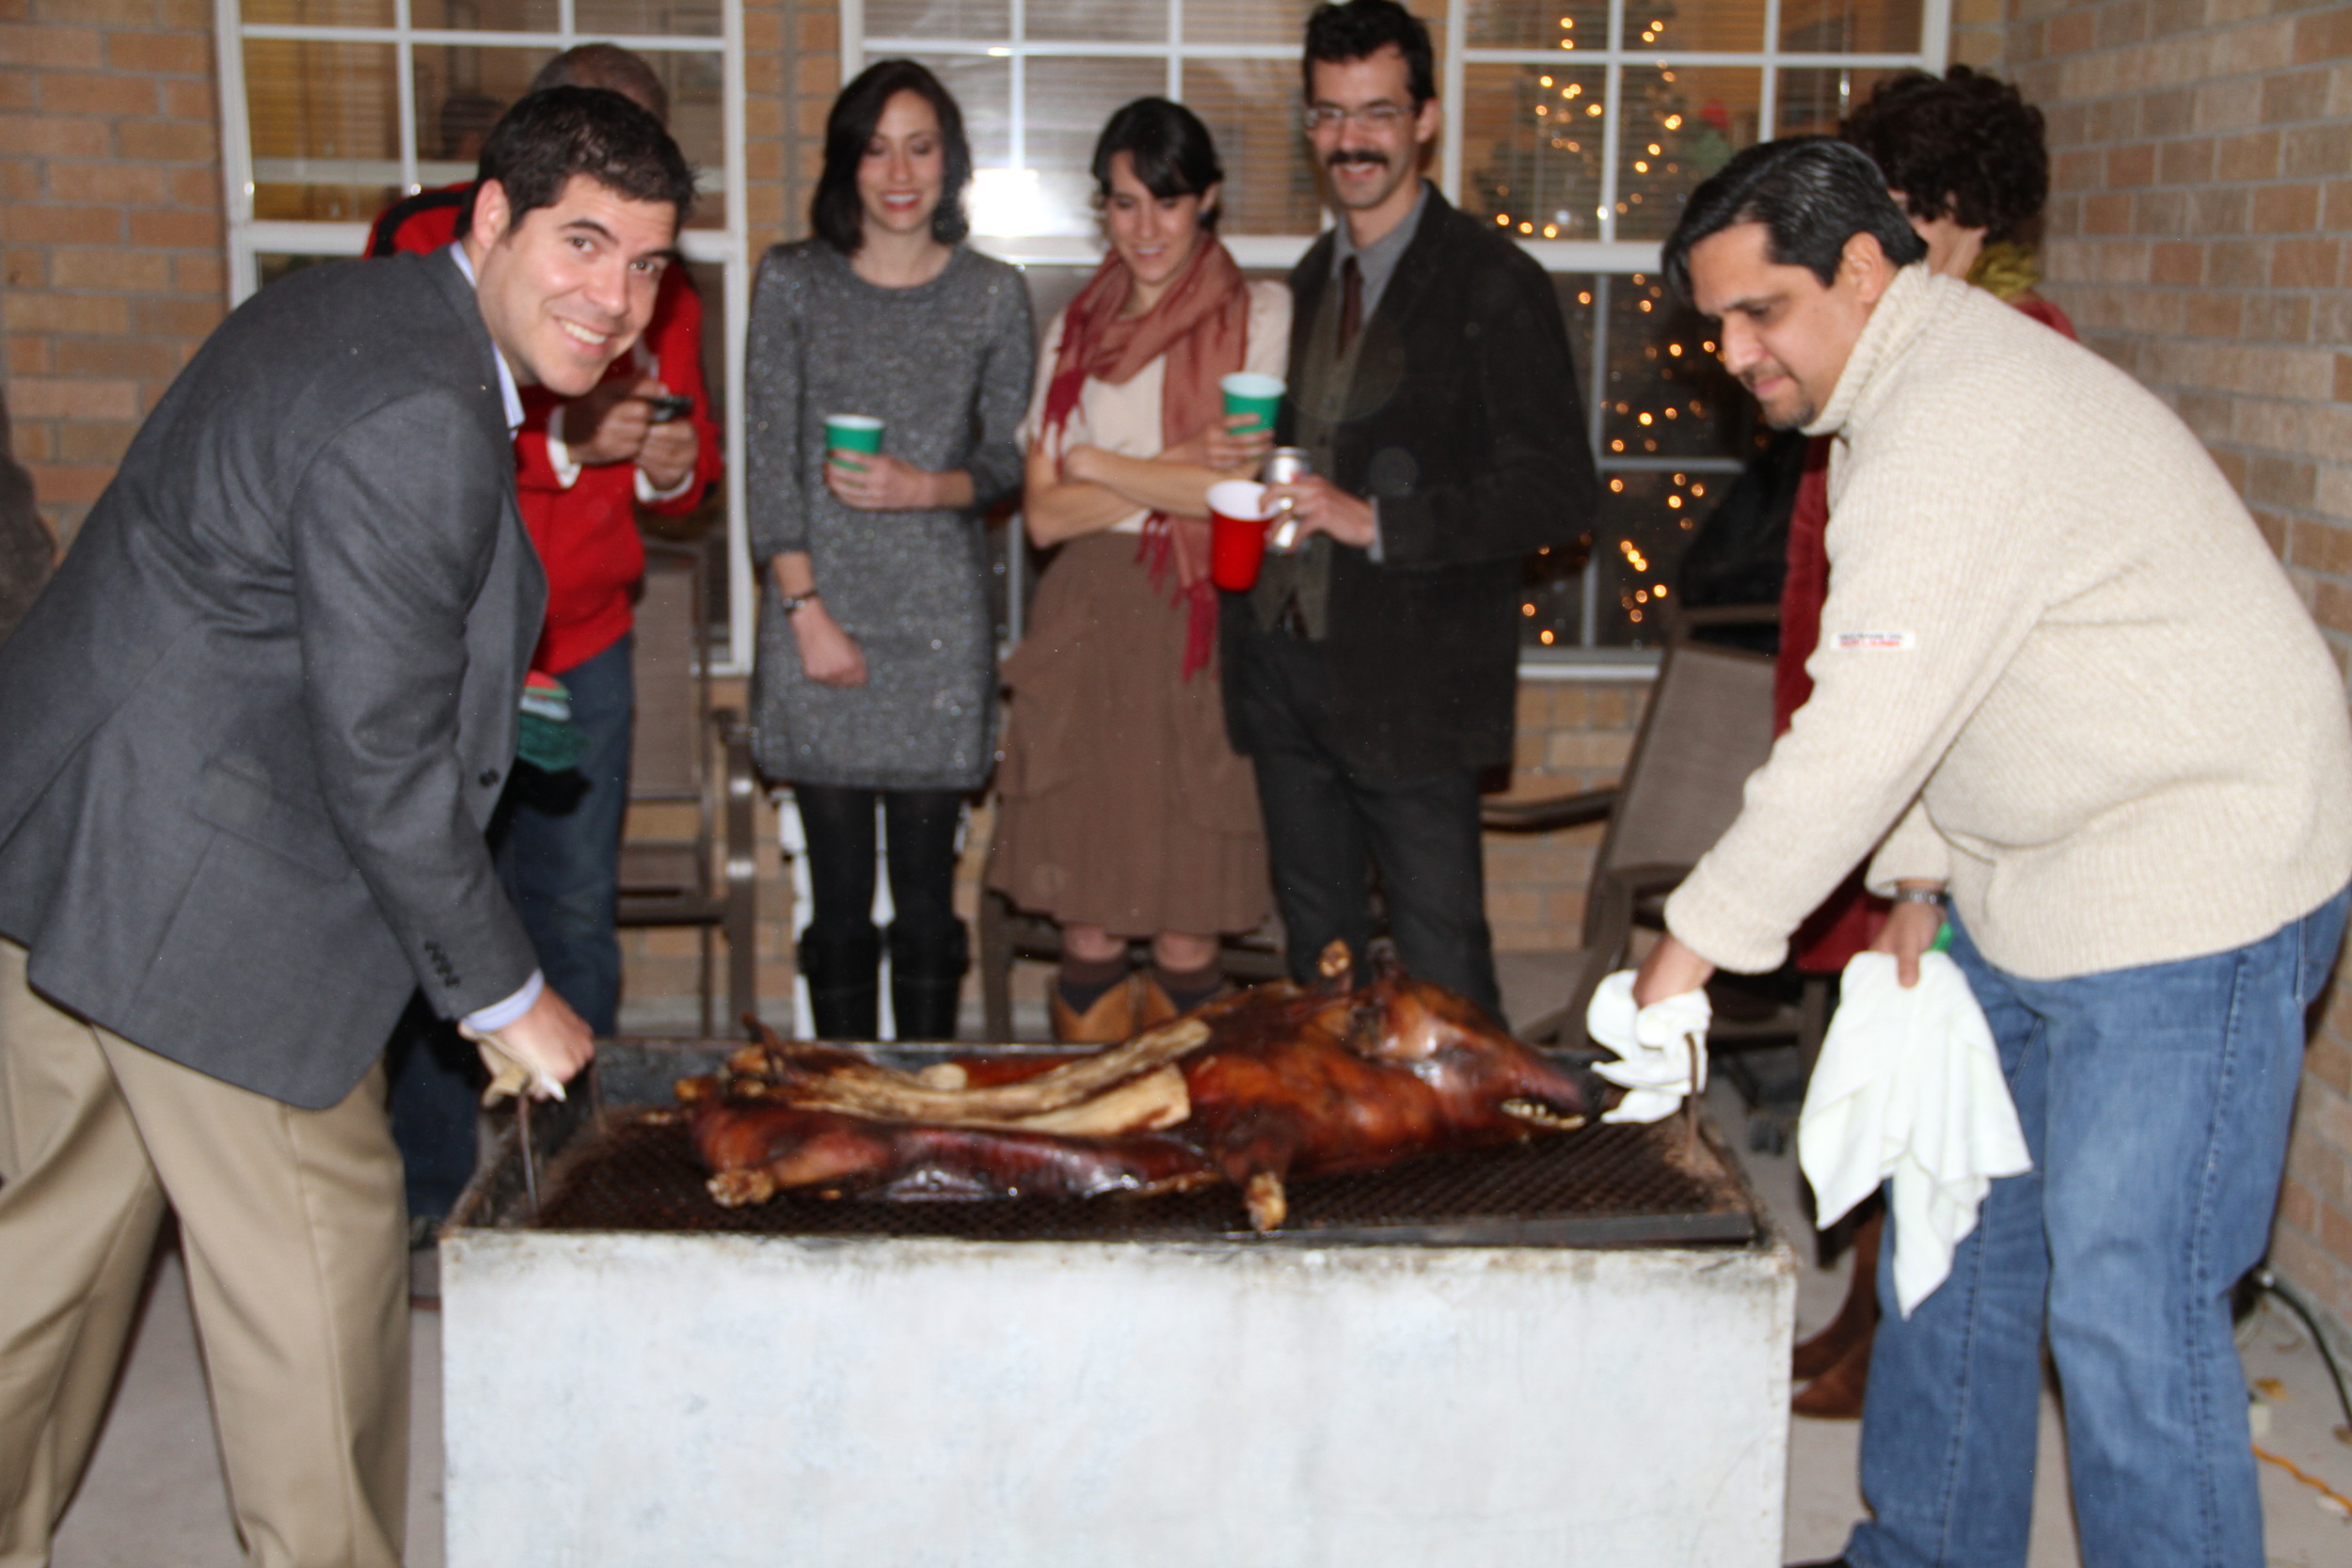
We made the journey to Texas for the holidays, the highlight of which was spending time with family in both McAllen and Austin. Sal and the kiddos nerded out for an afternoon at SpaceX. The Tamez family knocked it out of the park with a muy Mexicana Noche Buena for which all the Cubes came out in full force. Unseasonably mild temps, even for Texas, made for many wonderful afternoons playing dominoes outside with the Abuelos and bike-riding. M+V and Mimi hosted what will likely be our last Christmas in Austin, and the cousins got to enjoy the full childhood Christmas experience. We returned to Zagreb with our hearts full and grateful for such fun memories.
To view the McAllen album, click here.
Tov view the SpaceX album, click here.
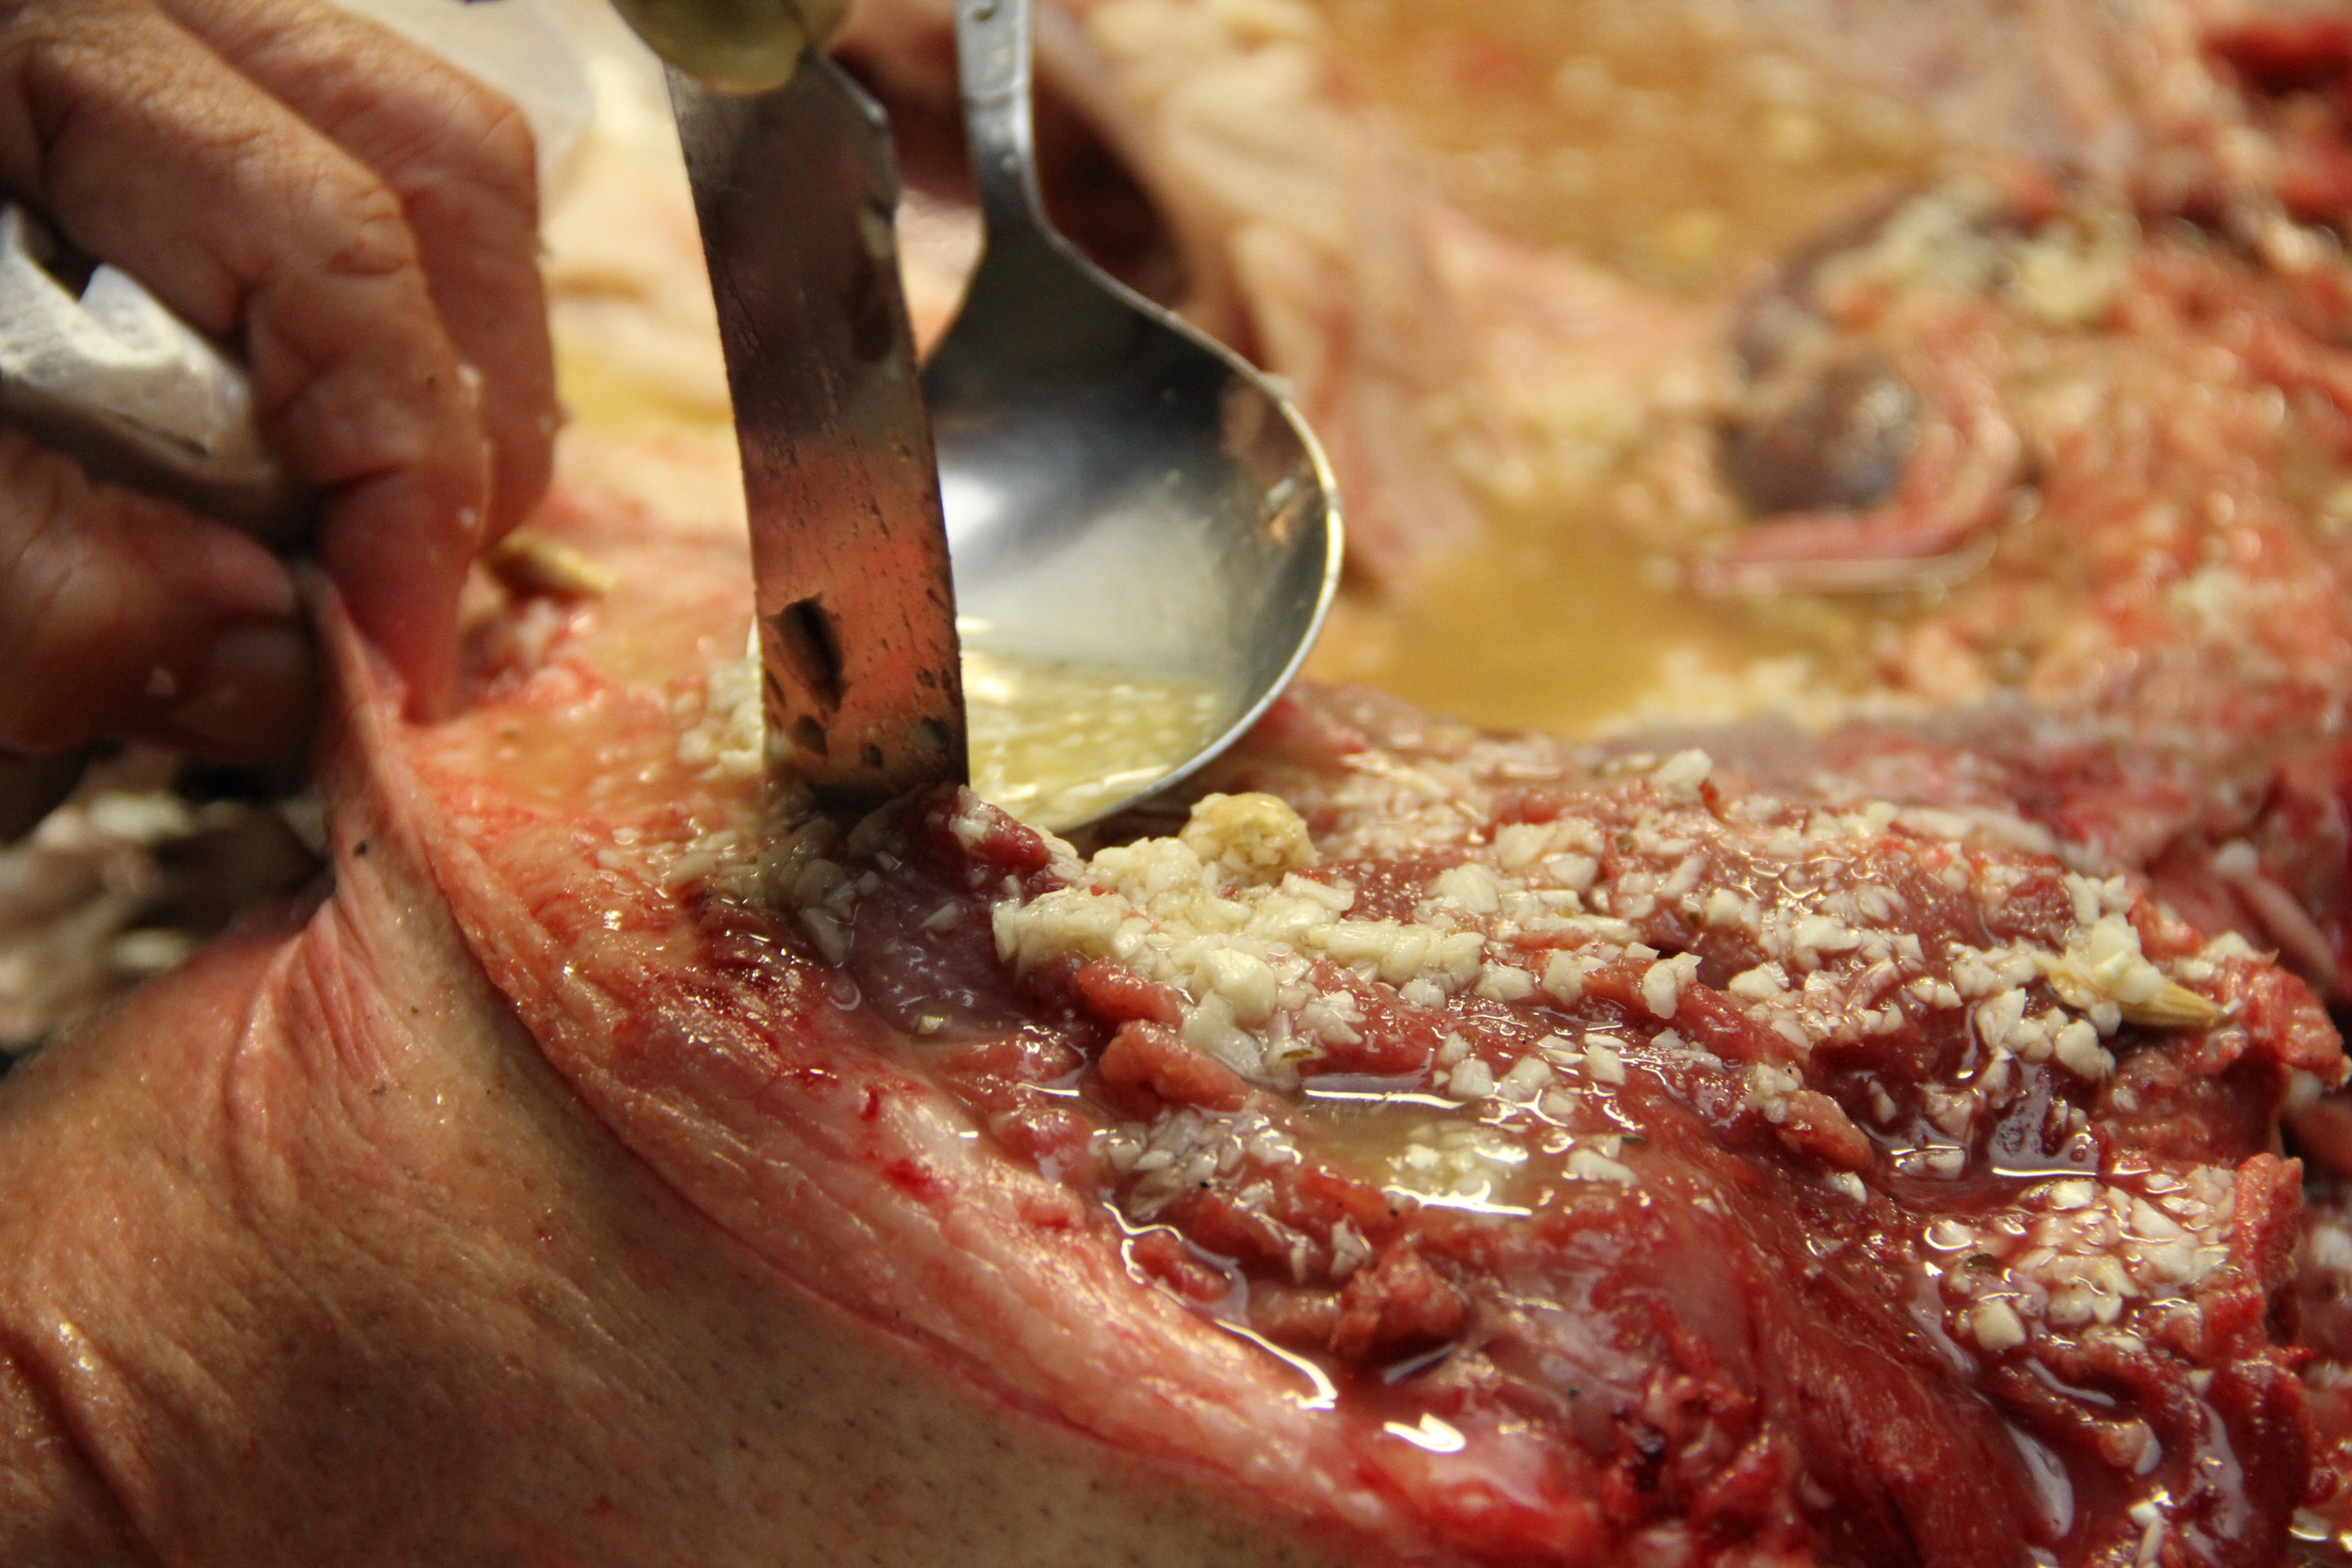
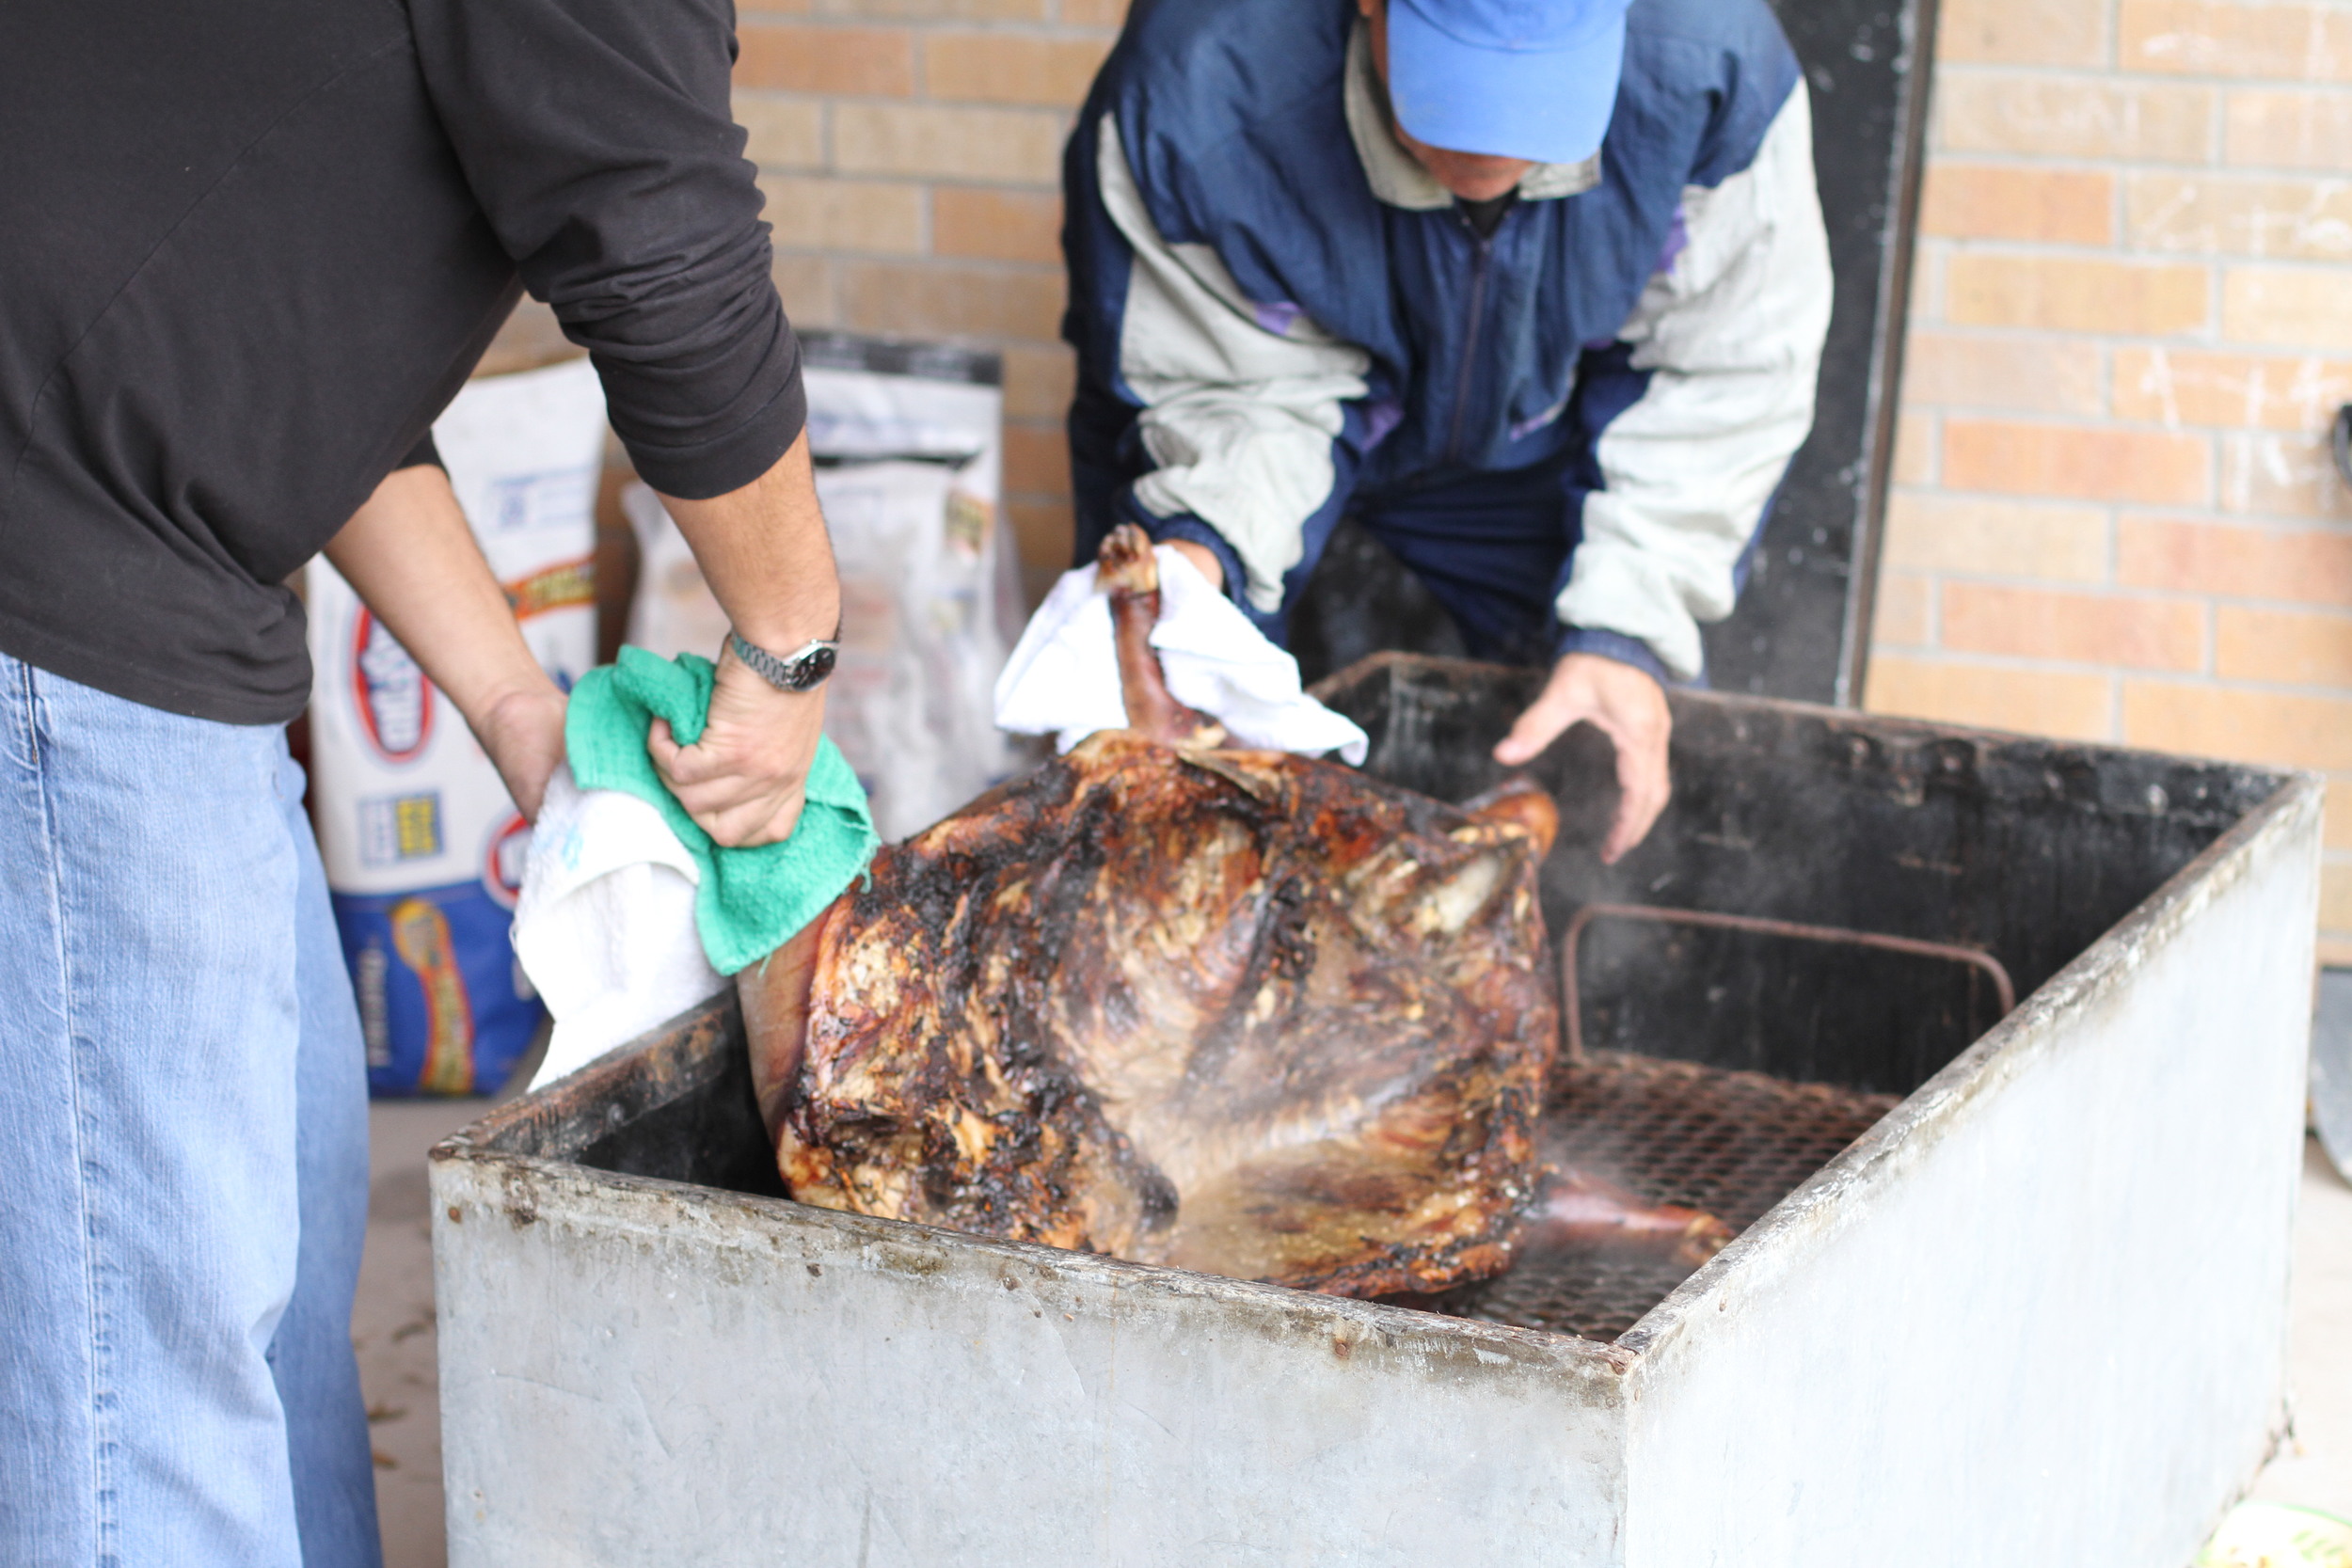
To view the Noche Buena album, click here.
To view the Austin album, click here.